
Get ready to elevate your sewing skills with this comprehensive guide. From selecting fabrics to mastering advanced techniques, this will equip you with all of the knowledge and confidence to create beautiful garments and fabric pieces that reflect your personal style.
Becoming skilled in hand-sewing techniques will come in handy even without access to a sewing machine, including running stitch (which uses an over/under motion to temporarily hold two pieces of fabric together), basting stitch, and more.
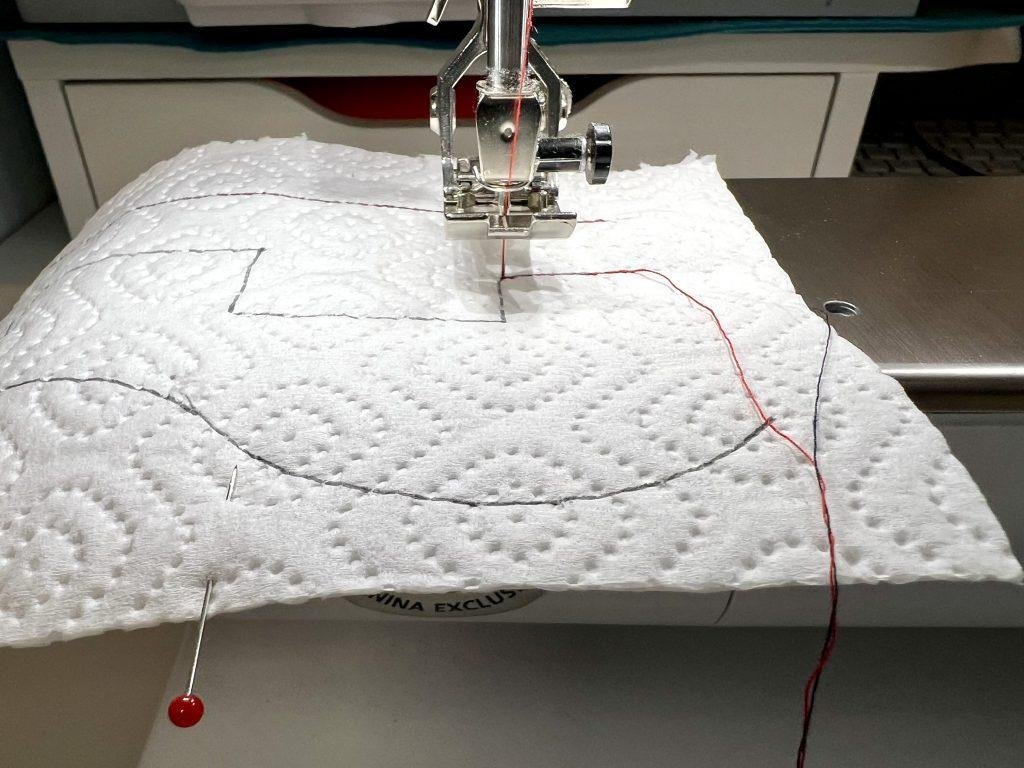
1. Straight Stitch
Straight Stitch is one of the essential hand sewing and embroidery stitches, used for everything from seaming fabric to embroidering garments such as dresses, scarves and cushion covers. Furthermore, it makes an excellent practice stitch when learning how to sew.
Straight stitch is an exceptionally reliable stitch that holds well, resists stretching, uses less thread than other stitches, is easy to do by hand or machine, and can easily adapt to suit the fabric you are working with – this makes it the preferred stitch among most sewers.
As new sewers learn the art of sewing, the straight stitch is usually their first stitch of choice. It is simple yet strong, working well on most fabrics. When choosing the appropriate needle and thread quality for sewing a straight stitch, your stitches should remain neat and tidy without causing issues when traversing fabric layers.
Prior to using your straight stitch on garments, it is a good idea to practice on scrap pieces of fabric. Furthermore, experiment with different stitch lengths; longer stitches tend to be more stable while shorter stitches can often provide better seaming capabilities and can even prevent fraying.
Straight stitch variations include lock stitch, which is used for securing seams and quilt piecing; staystitch (performed inside seam allowance and often useful when stitching curves); triple straight stitch (which can also be used with stretchy fabrics or even top-stitching); and triple straight stitch.
As part of your sewing endeavors, it will also be necessary to use a tack stitch, which is a short run of straight stitches used to secure something in place. For instance, when sewing up sleeves that were rolled up you would use this tack stitch before continuing sewing the edge down.
2. Chain Stitch
The chain stitch is an embroidery stitch used for creating thick lines. It is easy to learn and perfect for decorative borders, words or flower stems; or even as a background texture for other stitches; plus it is great if sewing machine threads are loose!
To start chain stitching, insert your needle through fabric at the desired distance (this will become your initial link in the chain) and pass your thread over and above the loop (rather than underneath), so as not to miss any stitches and end up with an uneven chain. Continue stitching this way while always making sure that each new link passes above its predecessor link.
Once your chain is complete, take your needle back through fabric a few inches away from where you began stitching to close off any holes that you created. Next, go over and down through this chain loop in order to create an anchoring stitch which will prevent its unraveling.
Chain stitch is an easy stitch to learn, but practicing on scrap fabric first may be beneficial in perfecting this stitch. While at first it might look disjointed or discordant, with practice your chain stitches will improve and become smoother – consider creating a stitch sampler using various types of floss and fabrics so you can gain experience working with various stitches; just be careful not to pull too hard on the floss as otherwise your stitches could turn out unevenly!
3. Zig-Zag Stitch
The zig-zag stitch (or side to side zigzag stitch) is an integral component of sewing machines, and many standard home machines feature it as an option. Although straightforward and simplistic in appearance, its usefulness lies in its versatility – as shown here by its extensive use by creative individuals in various creative projects.
Typically, the zig-zag stitch is an ideal option for seam finishing and sewing stretch fabrics, providing secure fabric edges while still allowing a bit of give in knit or stretch fabrics. Your machine has various settings you can change such as length and width dials that enable you to widen or narrower stitches depending on what works best with your fabric.
Use the zig-zag stitch to sew trims like fringing or ric-rac, beads, or any other embellishments with ease if you use caution and care when sewing these things on. It is a quick and efficient way to sew on these things without risking too much loosening over time.
The zig-zag stitch can also be utilized to create an eyelash hem, providing a neat and clean way of finishing off edges of fabric without leaving visible stitching visible on the right side of garments – this feature makes sewing delicate clothing pieces like lingerie more straightforward than ever!
As can be seen, the zig-zag stitch is one of the most helpful stitches to know for sewing both by hand and machine. Be sure to always test this stitch on a scrap piece of fabric first before using it on any larger projects, and everything should be fine! Happy sewing!
4. Backstitch
Backstitch is one of the easiest hand sewing stitches, yet still offers powerful seam strength. It can also be used for embroidery work that looks neat and professional. Additionally, backstitch can also be used to mending existing clothing while serving as an ideal learning method without an sewing machine; although slower than its running stitch counterpart, backstitch produces stronger seams than its running stitch counterparts.
Start off your first backstitch stitch by creating a waste knot in the thread at one end of the fabric to prevent unanchored thread from unraveling while you stitch. Anchor this short stitch directly next to the waste knot before taking your needle through all layers about 1/8-in behind previous stitch to complete your initial backstitch stitch. For neatness’ sake, try to make all backstitch stitches similar in length so they form an even line.
Before beginning backstitch sewing, it is advisable to mark the seamlines with chalk or washable marker. This will enable you to keep your stitches straight, which in turn will ensure your finished garment fits comfortably and lasts through wear-and-tear. Furthermore, practicing on scrap pieces of fabric prior to embarking on an actual project can be invaluable.
Once you master the basic backstitch, there are numerous variations available to add variety to your sewing projects. One such variation is known as a whipped backstitch – similar to regular backstitch but featuring an additional thread that weaves up and under primary thread for texture and strength – this technique also works great for sewing around corners, although results may not look quite as neat depending on your stitch length and speed.
Are You New to Sewing or Simply Need Some Refreshers? Follow These Easy Tips To Learn Sewing And Mending Or Embellishing Now